Working with affinity, tolerations and taints in Kubernetes
Published on Oct 06
In the world of Kubernetes, fine-tuning pod placement is an art form. In this post I’d like to show which features Kubernetes provides in order to make sure a pod does (not) run on a certain node. Using affinity, tolerations and taints, a Kubernetes operator has precise control over the resource allocation, performance and availability.
Tainting a Kubernetes node, what’s that?!
Tainting a Kubernetes node means applying a “taint” to the node. No, this does not mean you grab some mud and smear it on the node. Instead, tainting a node in Kubernetes discourages the scheduler from placing pods on that node unless those pods have a corresponding toleration.
These taints can be used to set restrictions on specific types of workloads that can be scheduled on specific nodes. There are a couple of reasons why a Kubernetes operator would want to apply taints, such as dedicating nodes to specific workloads, reserving nodes for critical tasks or to prevent certain pods from running on specific nodes.
You can taint a Kubernetes node using the kubectl taint command or by manually modifying the node’s YAML configuration. The kubectl taint command is structured as follows:
kubectl taint nodes <node_name> <taint_key>=<taint_value>:<taint_effect>
- node_name: this one is pretty self-explanatory, it’s the name of the node you want to taint.
- taint_key: this should be the name of the taint, for example “gpu”.
- taint_value: using this parameter you can set an optional value for the taint, for example “true”.
- taint_effect: this parameter defines the effect of the taint, there are 3 possible values:
- NoSchedule: prevent new pods from being scheduled on the tainted node.
- PreferNoSchedule: suggests that new pod should avoid being scheduled on the tainted node.
- NoExecute: removes existing pods from running on the node if they don’t have a toleration for the taint.
If you want to manually edit the node’s configuration, you can add a “taints” list to the “spec” section in your Kubernetes manifest. I’ve added an example below.
spec:
  taints:
    - key: <taint_key>
      value: <taint_value>
      effect: <taint_effect>
After tainting a node, the Kubernetes scheduler will take these taints into consideration when scheduling pods onto that node. Pods that require the taint (through tolerations) will be able to run on the tainted node, while others may be discouraged or prohibited from running there.
Tolerating a taint?
Now that we’ve taken a look at what tainting a Kubernetes node means, we can take a look at how we can tolerate such taints. When a pod has a toleration defined, the Kubernetes scheduler takes it into account while scheduling the pod on a node. If a node has a taint matching the pod’s toleration, the pod is allowed to run on that node.
Tolerations are especially useful when you need to control pod placement on nodes with specific characteristics outlined by taints. They make sure that pods that must run on specific nodes can do so despite the taints imposed on those nodes.
You might be asking yourself “Well, that’s all great, but how do I add a toleration to my pod?” now, so let’s take a quick look at how a toleration should be defined in your pod’s YAML manifest.
tolerations:
  - key: <taint_key>
    operator: <operator>
    value: <taint_value>
    effect: <taint_effect>
- taint_key: this should be the name of the taint you configured in your node, for example “gpu”.
- operator: the operator specifies how the toleration should match the taint. Common operators are “Equal,” “Exists,” and “DoesNotExist.”.
- taint_value: this should match the optional value you defined in the node’s taint, for example “true”.
- taint_effect: the taint effect has to match the one defined in the node’s taint.
With the toleration configured that in your pod definition, your pod should be able to start up on your tainted node!
Affinities.. are *you* attracted to a node?
In Kubernetes, you also have a concept called affinities. These are a set of rules that allow you to influence the placement of pods on nodes within a Kubernetes cluster. They can be used to indicate preferences and restrictions for node or pod placement, ensuring that pods are scheduled on nodes that meet particular requirements or nodes that include other pods with particular properties.
There are 2 types of affinities, node affinity and pod affinity. Let’s take a look at each of them and see how we can use them to our advantage.
Node affinity
A node affinity allows you to select specific nodes on which your pods should be scheduled. This is done by writing rules based on node attributes such as labels.
Node affinities can be categorized into two types:
requiredDuringSchedulingIgnoredDuringExecution: this type works like nodeSelector, it specifies rules that must be met when assigning pods to nodes.preferredDuringSchedulingIgnoredDuringExecution: this type can be used when you have a preferred (set of) node(s) on which you want to schedule your pod. The Kubernetes scheduler will attempt to start the pod on the node(s) but if that’s not possible, it will start the pod on a different node (which doesn’t match the required properties).
Both of these types are defined in the pod’s YAML as follows:
affinity:
  nodeAffinity:
    <node_affinity_type>: # requiredDuringSchedulingIgnoredDuringExecution or preferredDuringSchedulingIgnoredDuringExecution
      nodeSelectorTerms:
        - matchExpressions:
            - key: <label_key>
              operator: In
              values:
                - <label_value>
Pod (anti-)affinity
A pod (anti-)affinity allows you to influence the scheduling of pods based on the labels of pods that are already running on that node (instead of the node labels). The Kubernetes documentation explains the way these affinities work very well; “this pod should (not) run on node X if that node is already one or more pods that meet rule Y”. These rules (Y) can be expressed as a label selector with a list of optional namespaces.
Pod affinity can be useful when you want to make sure two components of your application (for example the front- and back-end of a e-commerce website) are close to eachother to ensure fast communication between the two components. Pod anti-affinity would be used in the exact opposite situation, for example when you want to prevent two pods with the same function from running on the same node.
Just like node affinities, there are two types of pod (anti-)affinities: requiredDuringSchedulingIgnoredDuringExecution and preferredDuringSchedulingIgnoredDuringExecution
Bonus: nodeSelectors, what are those?
NodeSelectors are a simpler method that allows you to influence pod scheduling based on node labels. While they are less powerful than the previous methods, they can be useful in certain scenarios. They use node labels - key-value pairs that describe certain charactristics of the node - to indicate on which node the pod should be scheduled.
In your pod’s YAML manifest, you can add a nodeSelector entry with the label selector.
nodeSelector:
  hardware: gpu
It’s all coming together, in action!
Let’s get to it then, we’ll combine these three scheduling features and see how they all work together when scheduling pods. We’ll start from a very simple NGINX Pod which we’ll expand with a toleration and nodeAffinity.
apiVersion: v1
kind: Pod
metadata:
  name: nginx
spec:
  containers:
    - name: nginx
      image: nginx:1.25.2
      ports:
        - containerPort: 80
So, assuming you already have a Kubernetes cluster set up - if not, check out one of my previous posts -, you can list the taints of the nodes in the cluster by executing the following command:
[vdeborger@node-01 ~]$ kubectl get nodes -o custom-columns=NAME:.metadata.name,TAINTS:.spec.taints --no-headers
node-01   [map[effect:NoSchedule key:node-role.kubernetes.io/control-plane]]
node-02   <none>
node-03   <none>
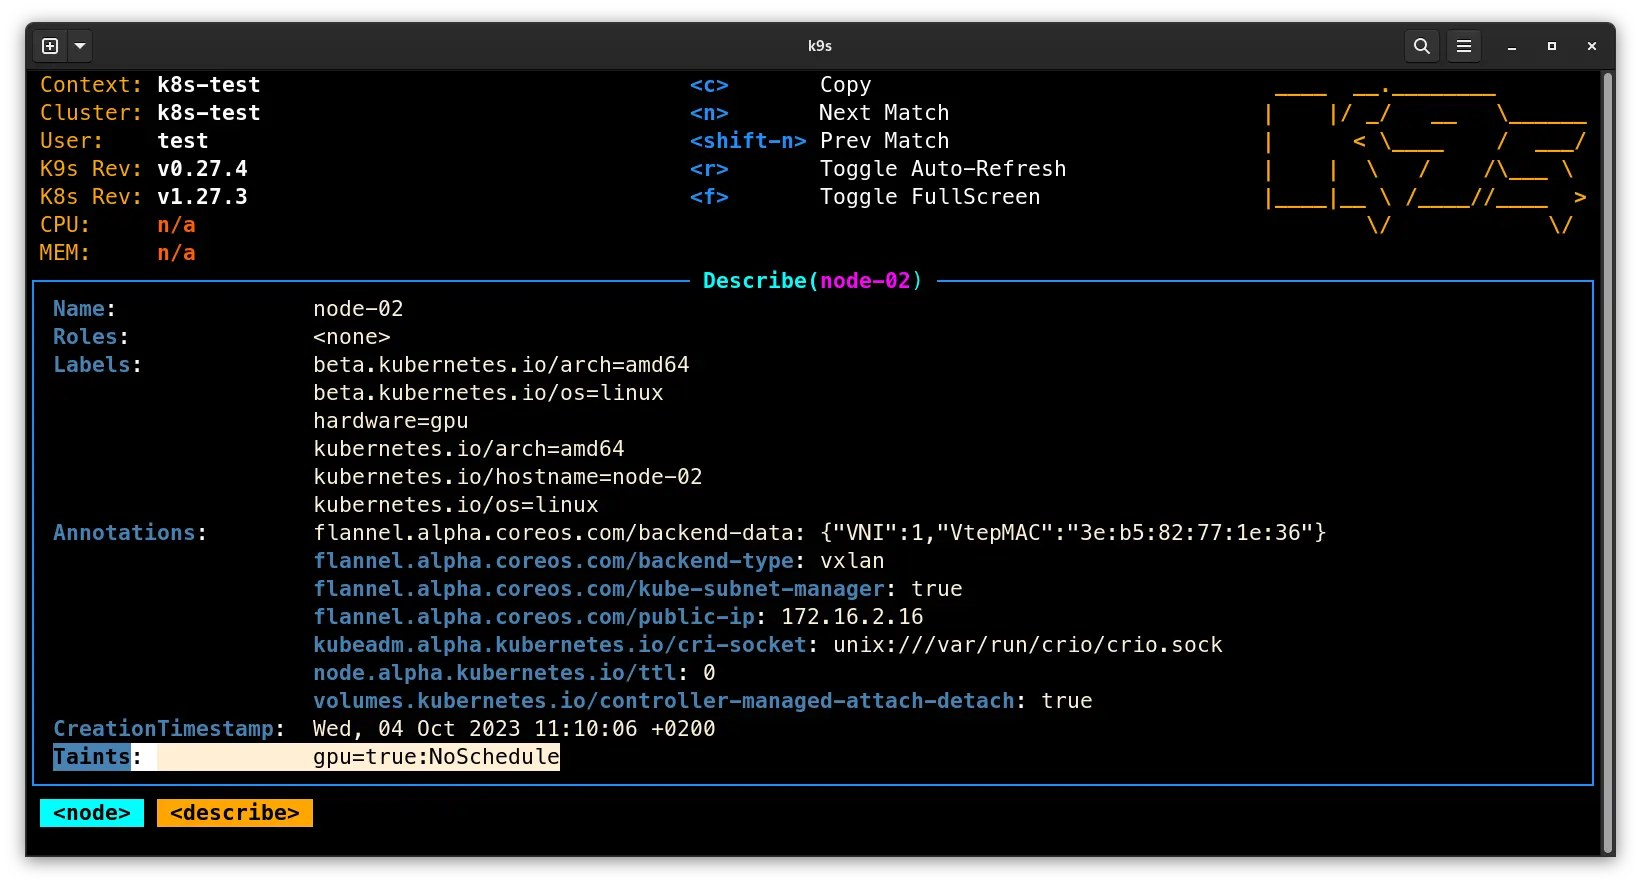
You’ll see that none of the nodes except the control plane (master) have been tainted. Let’s change that, for the sake of this demo, we’ll taint node-02 so we can reserve that node for specific workloads: kubectl taint nodes node-02 gpu=true:NoSchedule.
Fun fact: a taint kan be removed by adding a “minus” at the end of the taint command:
kubectl taint nodes node-02 gpu=true:NoSchedule-
Now that we’ve added a taint to the node, we can add a node label aswell. But first, let’s check which node labels are already present on the node:
[vdeborger@node-01 ~]$ kubectl get nodes --show-labels=true
NAME      STATUS   ROLES           AGE   VERSION   LABELS
node-01   Ready    control-plane   32h   v1.27.3   beta.kubernetes.io/arch=amd64,beta.kubernetes.io/os=linux,kubernetes.io/arch=amd64,kubernetes.io/hostname=node-01,kubernetes.io/os=linux,node-role.kubernetes.io/control-plane=,node.kubernetes.io/exclude-from-external-load-balancers=
node-02   Ready    <none>          32h   v1.27.3   beta.kubernetes.io/arch=amd64,beta.kubernetes.io/os=linux,kubernetes.io/arch=amd64,kubernetes.io/hostname=node-02,kubernetes.io/os=linux
node-03   Ready    <none>          32h   v1.27.3   beta.kubernetes.io/arch=amd64,beta.kubernetes.io/os=linux,kubernetes.io/arch=amd64,kubernetes.io/hostname=node-03,kubernetes.io/os=linux
As you can see, Kubernetes has some standard labels which get added to the nodes. For example, you have the architecture, hostname and operating system labels. Let’s add one of our own to that list. We assumed that node-02 is the node with a GPU in our cluster, so let’s give it a label to identify that: kubectl label nodes node-02 hardware=gpu.
When you’ve added the label, you should see it in the node’s label list:
[vdeborger@node-01 ~]$ kubectl label --list nodes node-02
beta.kubernetes.io/os=linux
hardware=gpu
kubernetes.io/arch=amd64
kubernetes.io/hostname=node-02
kubernetes.io/os=linux
beta.kubernetes.io/arch=amd64
Okay, that’s great! Let’s make sure the Kubernetes scheduler uses that label to decide on which node it should place our pod. We’ll add the following nodeAffinity to the spec section of our manifest:
affinity:
  nodeAffinity:
    requiredDuringSchedulingIgnoredDuringExecution:
      nodeSelectorTerms:
        - matchExpressions:
            - key: hardware
              operator: In
              values:
                - gpu
Let’s see if our pod gets assigned to node-02 when we apply it in its current state:
[vdeborger@node-01 ~]$ kubectl apply -f pod.yaml
pod/nginx created
[vdeborger@node-01 ~]$ kubectl get pod nginx -o wide
NAME    READY   STATUS    RESTARTS   AGE   IP       NODE     NOMINATED NODE   READINESS GATES
nginx   0/1     Pending   0          42s   <none>   <none>   <none>           <none>
Hm, that’s strange, isn’t it? Our pod is stuck in the “Pending” status. Well, that’s to be expected. The Kubernetes scheduler is trying to assign the pod to the node-02 node, but that node has a taint! It can’t schedule our pod as long as we don’t tolerate that taint, so let’s add a toleration:
tolerations:
  - key: "gpu"
    operator: "Equal"
    value: "true"
    effect: "NoSchedule"
Okay, our Kubernetes manifest should now look something like the snippet below. We have the containers section with our nginx container, a tolerations section which tolerates the gpu=true taint and an affinity section which uses nodeAffinity to schedule our pod on a node with the hardware=gpu label.
apiVersion: v1
kind: Pod
metadata:
  name: nginx
spec:
  containers:
    - name: nginx
      image: nginx:1.25.2
      ports:
        - containerPort: 80
  tolerations:
    - key: "gpu"
      operator: "Equal"
      value: "true"
      effect: "NoSchedule"
  affinity:
    nodeAffinity:
      requiredDuringSchedulingIgnoredDuringExecution:
        nodeSelectorTerms:
          - matchExpressions:
              - key: hardware
                operator: In
                values:
                  - gpu
Let’s apply that manifest again and see if our pod gets scheduled on the node.
[vdeborger@node-01 ~]$ kubectl apply -f pod.yaml
pod/nginx configured
[vdeborger@node-01 ~]$ kubectl get pod nginx -o wide
NAME    READY   STATUS    RESTARTS   AGE     IP           NODE      NOMINATED NODE   READINESS GATES
nginx   1/1     Running   0          5m51s   10.244.2.2   node-02   <none>           <none>
Yay 🎉, that works! You can now start to play with it by adding more pods with those toleration and affinity settings. Pods without either of those settings won’t be scheduled on that node, so keep that in mind!
Conclusion
So, in this post we’ve uncovered what affinities, tolerations and taints are and how they allow Kubernetes operators to have precise control over pod placement. To close this post, I’ve got a fun analogy to make sure you understand the differences between these three features and how they can work together;
With affinity, you express your preferences for where pods should be grouped, ensuring that they stay together. Tolerations are like the welcoming hosts of the party, accommodating pods with unique needs. Taints, on the other hand, act as the bouncers, allowing only select pods to enter.